Panel heaters with Light:
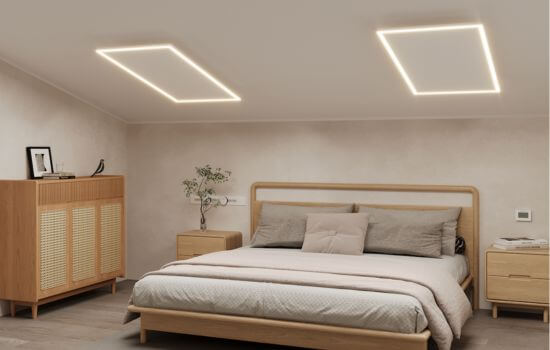
Heating panel with LED light
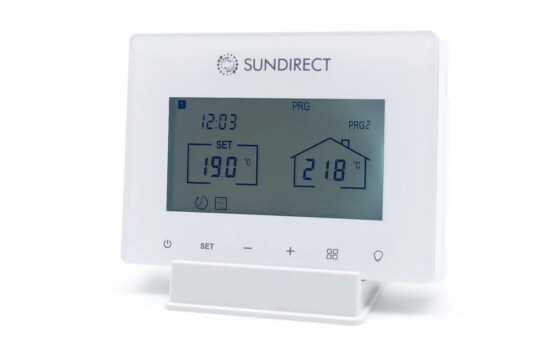
Basic heating and lighting controller
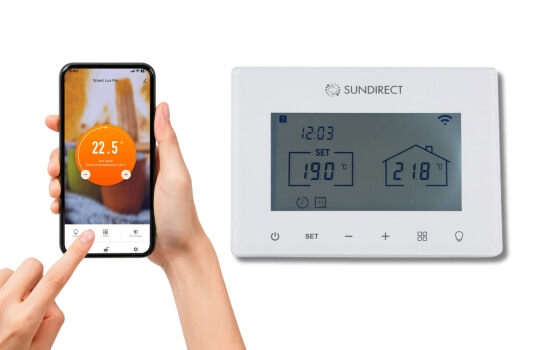
Wifi Heating And Light Controller

Extra Light Switch For Lux-Plus Series
WIRELESS CONTROLLABLE INFRARED PANEL HEATERS-PLUS SERIES

Framed Infrared Panel Heater

Frameless Infrared Panel Heater

Glass Infrared Heater

Mirror Infrared Heater

Infrared Picture Heater

Infrared Blackboard Heater

Wireless Smart Control

Wireless Smart Control + Wifi

Wireless Smart Thermostat-PLug + Wifi
Bathroom towel heaters


Mirror heater with lighting

Infrared Mirror Heater with Light
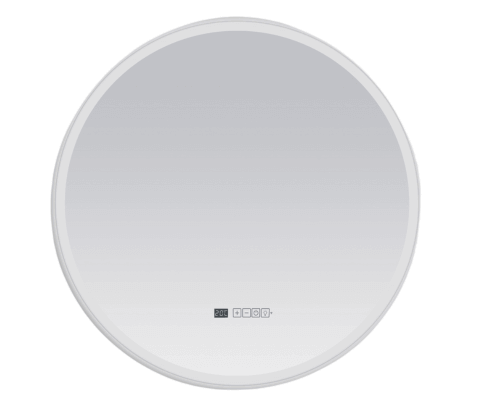
Rounded Infrared Mirror Heater with Light
Portable infrared heaters

Infrared Foot Warmer

Moveable hybrid heater

Mini tower heater

Portable tower heater
Hybrid heaters

Hybrid Infrared Heater
Stone heaters

Infrared Stone Heaters
Outdoor and space heaters

Outdoor infrared heaters
Smart Outdoor Infrared Heater

Smart Infrared Space Heater


4 comments
Join the conversationDan Borschneck - March 18, 2021
call I recess the heater in a wall so the panel is flush with the wall?
Denise Kearney - October 5, 2023
Can you please give me a contact near Aberdeen to discuss infra red heating
Jasmine - July 25, 2024
Can I install an infrared panel on an angled ceiling?
Sundirect - October 21, 2024
Yes, you can! Just make sure you keep a safe distance from other objects.