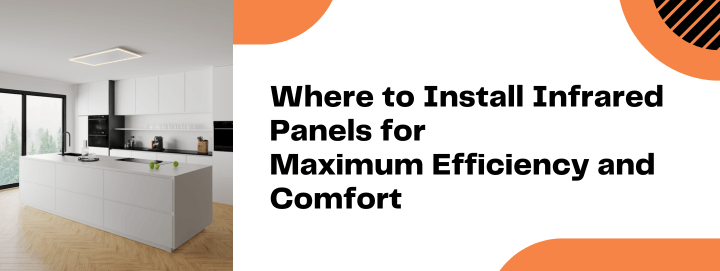
Infrared heating panels offer an energy-efficient way to warm your home, but their performance depends heavily on where you place them. Strategic installation ensures even heat distribution, lower energy bills, and optimal comfort. Here’s your guide to the best placement for every room.
General Placement Principles
Before choosing locations, keep these key rules in mind:
✅ Aim for Direct Exposure – Infrared heats objects in its line of sight, so position panels where warmth is needed most.
✅ Avoid Obstructions – Furniture, curtains, or large decor can block heat waves.
✅ Consider Ceiling vs. Wall Mounting – Each has pros and cons depending on room layout.
✅ Follow Manufacturer Guidelines – Check recommended heights and clearances.
Best Locations for Infrared Panels
1. Living Room & Common Areas
- Primary Spot: Mount on the ceiling or high wall facing seating areas (sofas, armchairs).
- Why? Ensures direct warmth where people relax.
- Alternative: Place above a fireplace or TV (if wall space is limited).
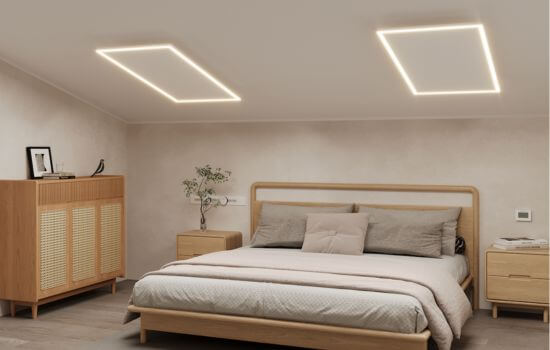
2. Bedrooms
- Best Position: On the ceiling above the bed or on the wall opposite the bed.
- Why? Provides gentle, all-night warmth without drying the air.
- Avoid: Directly over the headboard (can feel too intense).
3. Bathrooms
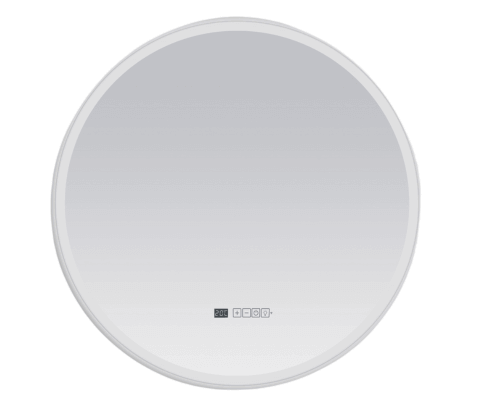
- Ideal Placement: On the ceiling or upper wall away from water sources.
- Why? Prevents moisture interference and keeps floors warm.
- Bonus: Use a mirror panel for discreet heating.
4. Kitchens
- Optimal Location: On the ceiling near workspaces (countertops, dining area).
- Why? Keeps cooks comfortable without wasting heat on cabinets.
- Avoid: Above stoves (heat interference).
5. Home Offices
- Best Spot: On the wall behind or beside your desk.
- Why? Direct warmth prevents cold hands while working.
6. Hallways & Entryways
- Smart Placement: On the ceiling or high wall near the entrance.
- Why? Takes the chill off immediately when you come inside.
Ceiling vs. Wall Mounting: Which is Better?
Ceiling-Mounted Panels
✔ Pros:
- Heat spreads evenly across the room.
- Out of the way (no wall space taken).
✔ Best for: Large rooms, kitchens, hallways.
Wall-Mounted Panels
✔ Pros:
- More direct warmth for seated areas.
- Easier to install (no ladder needed).
✔ Best for: Living rooms, bedrooms, offices.
Places to Avoid
❌ Behind Furniture – Blocks heat waves.
❌ Near Windows – Heat can escape outside.
❌ Low on Walls – Less effective (heat rises).
❌ Humid Areas (unless rated for bathrooms).
Pro Tips for Maximum Efficiency
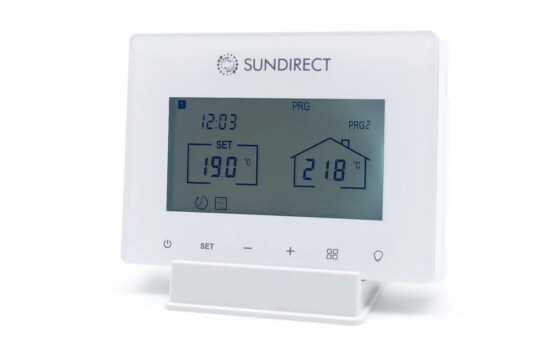
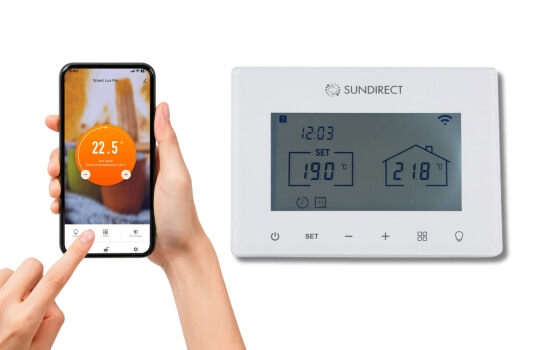
🔹 Pair with a Thermostat – Prevents overheating and saves energy.
🔹 Angle Adjustable Panels – Tilt slightly downward for better coverage.
🔹 Space Them Evenly – Larger rooms may need multiple panels.
🔹 Combine with Insulation – Reduces heat loss and improves performance.
FAQs
- How high should infrared panels be mounted?
- Wall panels: 6-7 feet high for seated areas, higher for standing zones.
- Ceiling panels: Centered in the room for even distribution.
- Can I install infrared panels outdoors?
- Only if they’re specifically rated for outdoor use (most are indoor-only).
- Do infrared panels work in large, open spaces?
- Yes, but you may need multiple panels for full coverage.
- Should I leave infrared panels on all the time?
- They’re efficient, but a programmable thermostat helps optimize usage.
- Can I install them myself?
- Yes (if you’re handy), but hardwired models may need an electrician.
Final Thoughts
Proper placement doubles the effectiveness of your infrared heating system. By installing panels in high-traffic areas and avoiding obstructions, you’ll enjoy faster warmth, lower bills, and cozier rooms.
Ready to install? Map out your room’s layout first, then position panels where they’ll deliver the most comfort! 🔥🏠


Leave a Reply